Create partition of C Drive or free space in different drive.
Pre-Condition: Free space must be available to create new drive.
In Windows 11 Operating system Right click on Windows icon and select “Disc Management” Menu.
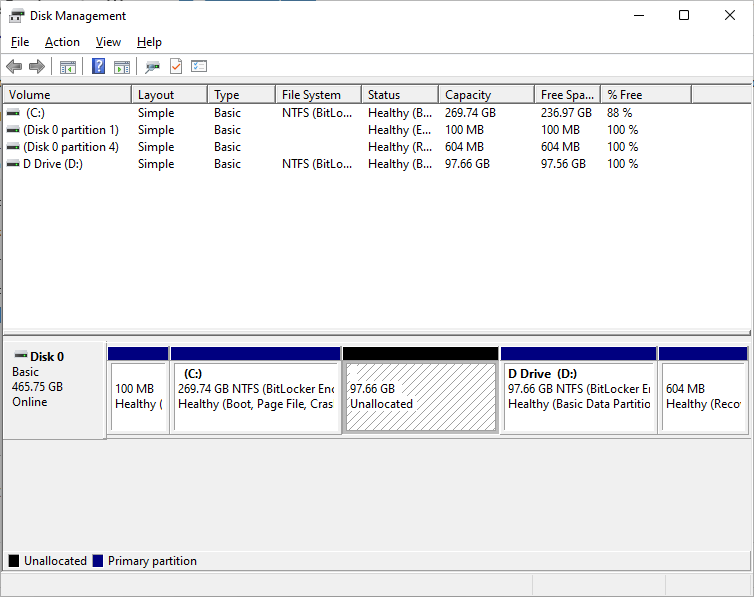
System will display Disk Management Window.
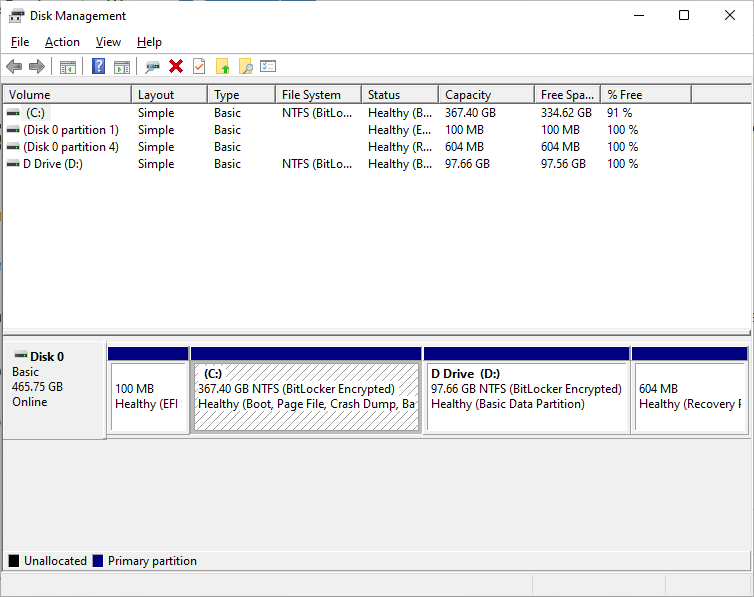
Select C Drive or select drive from where one need to create another drive. Make sure drive has free space available.
Right Click on C Drive and Select Menu Shrink Volume.
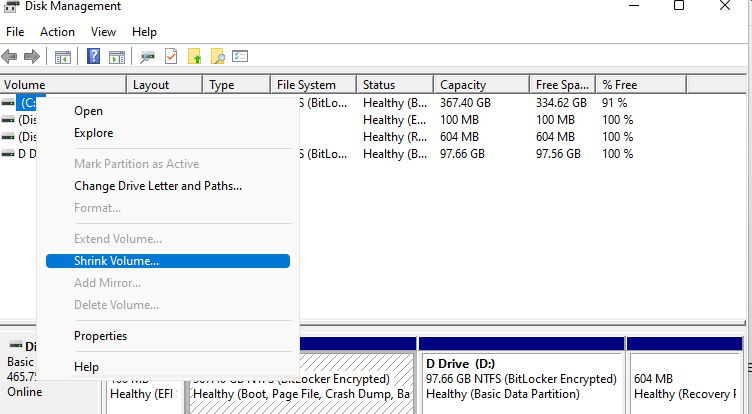
System will calculate free space and will display below pop up with some calculation ( DO NOT Press Shrink Button Immediately)
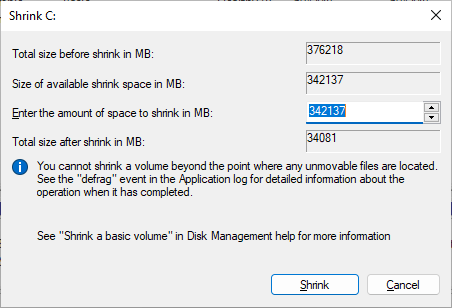
Now if here we have more than 300 GB space available but we can create 100 GB Drive. To Create 100 GB Drive need to convert 100 GB to MB. 100 GB equal to 100000 MB.
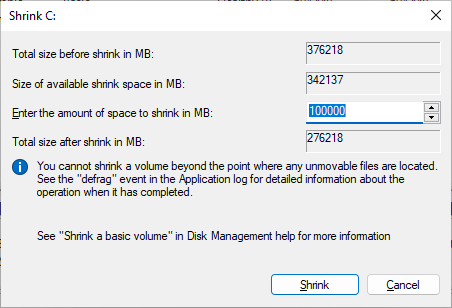
Now enter 100000 or space you needed in “Enter the amount of space to shrink in MB” and Click on Shrink Button.
Now system will display unallocated space which we created in below format. 97.66 GB Unallocated.
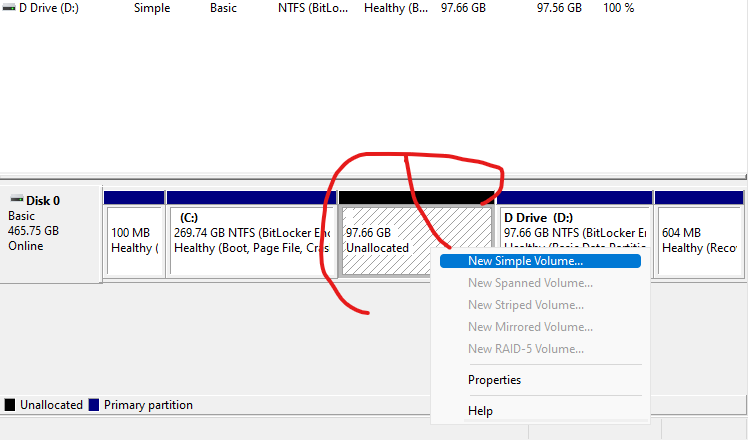
Right Click on UnAllocated space (which we created) and Select menu “New Simple Volume”
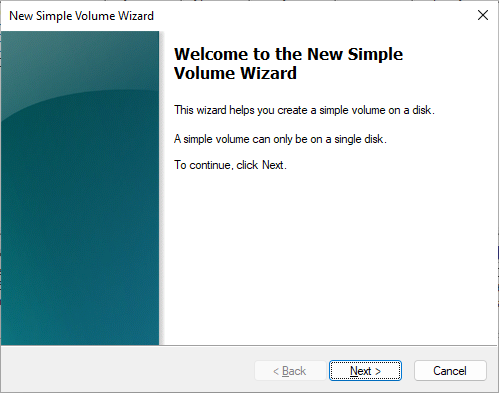
Click on Next button of displayed window “New simple volume Wizard”
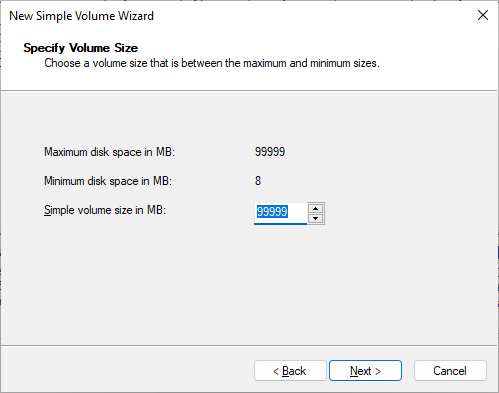
Again Click on Next Button without changing any volume size
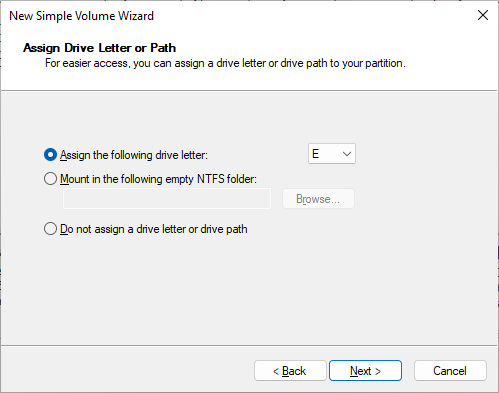
System will display below window by assigning drive letter for the partition. Else user can select based on his choice from dropdown list.
Click on next button and system will display below window to specify volume name
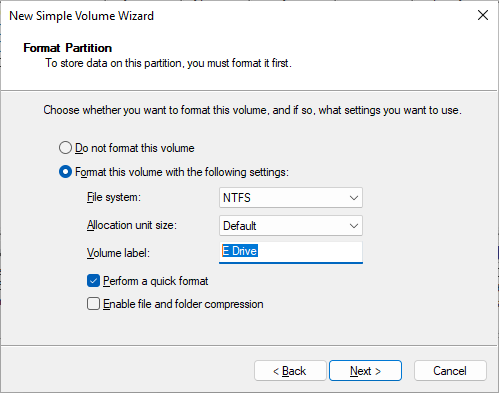
Enter Volume Label as per choice or requirement and click on next button. And then Click on Finish button to complete partition.
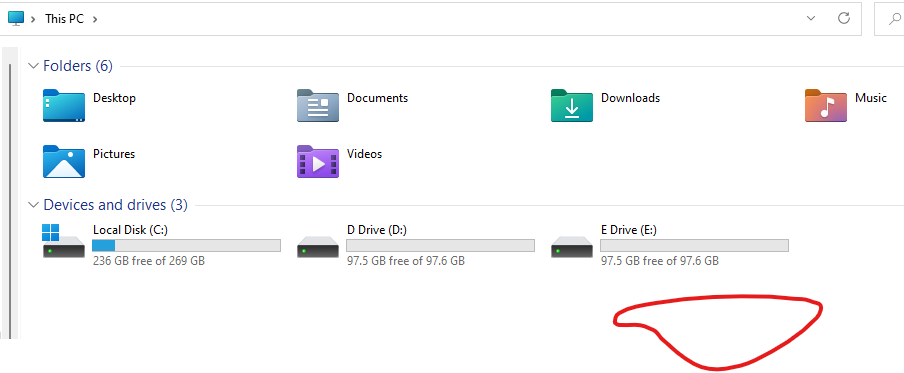
Now drive are ready to use
Precaution: Do not try to create partition when enough free space is not available else there are chance that you will loose your existing data.